Getting Started
This guide is for Jira administrators who create and configure FieldCraft custom fields.
If you are an end user of already-configured fields, start from the FieldCraft overview and open the feature page that matches your workflow.
Prerequisites
- FieldCraft is installed in your Jira Cloud site.
- You can access Jira administration pages for custom field management.
- You know which projects and issue types should use the new field context.
Add a Custom Field
You can create and configure FieldCraft custom fields using the native Jira Custom Fields page:
- Log into your Jira instance as an Administrator.
- Click Settings in the upper right corner.
- Select Work Items.
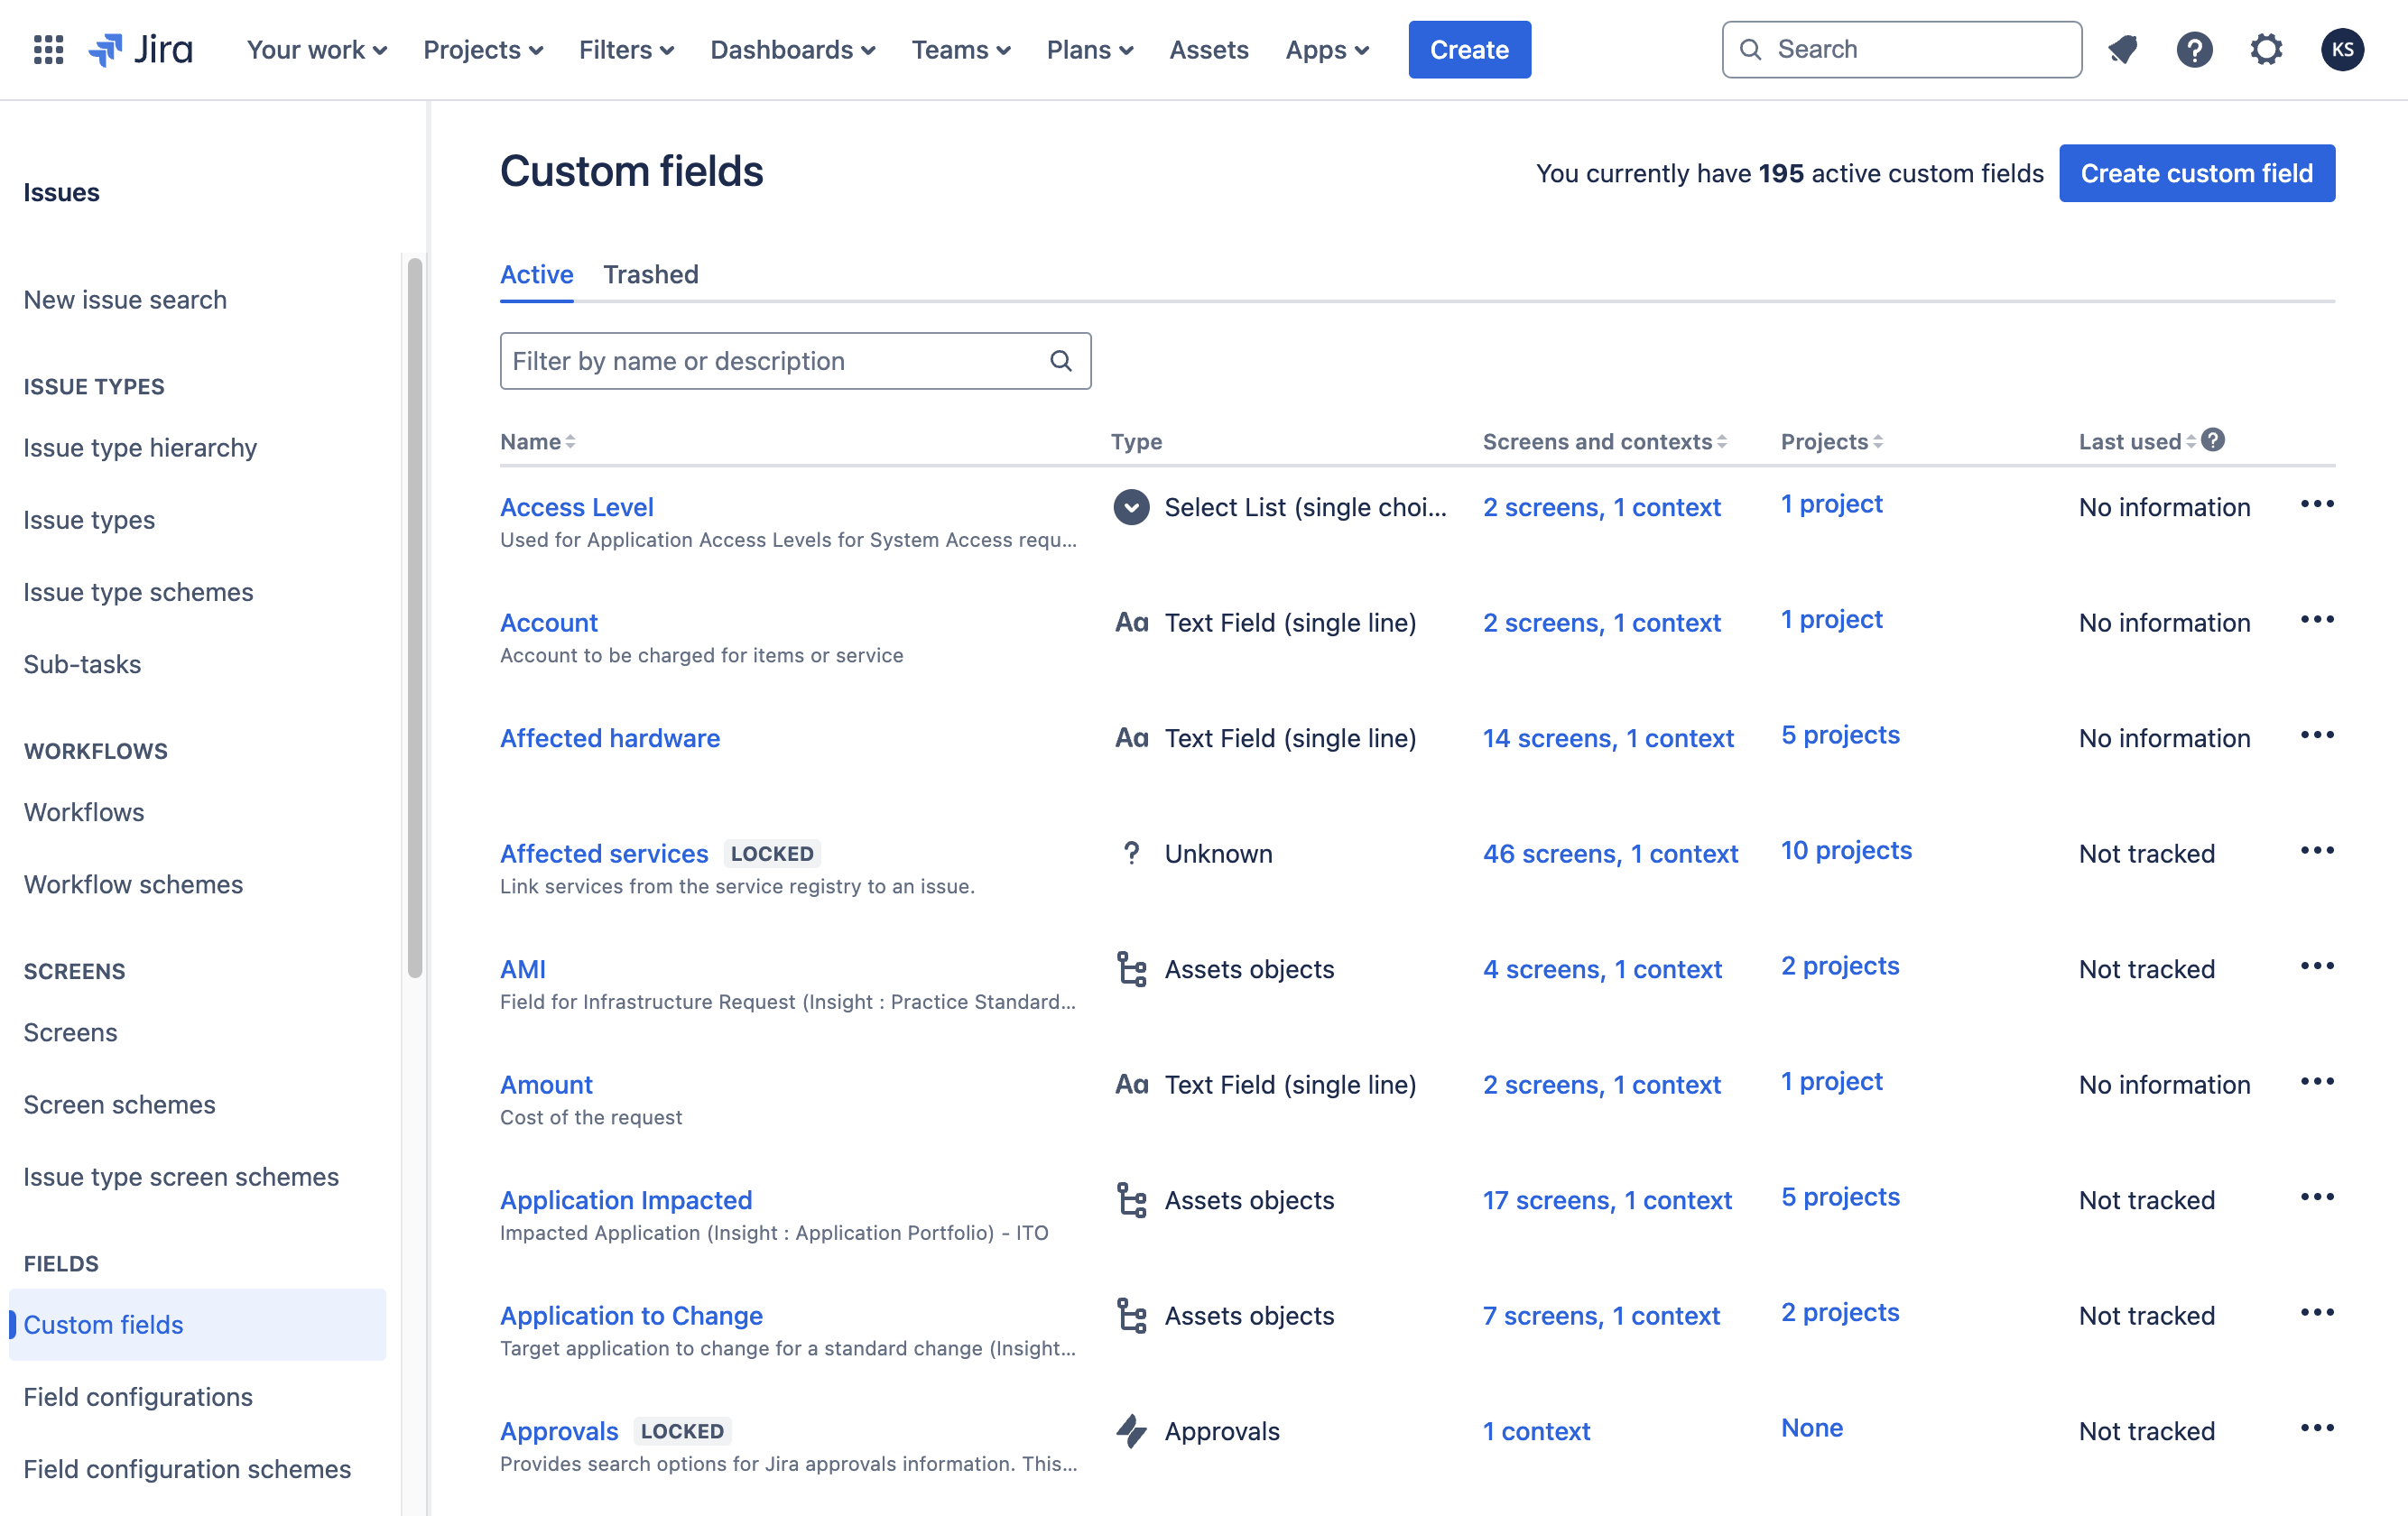
- In the left-hand panel, click Custom fields.
- Click Create custom field in the upper right corner.
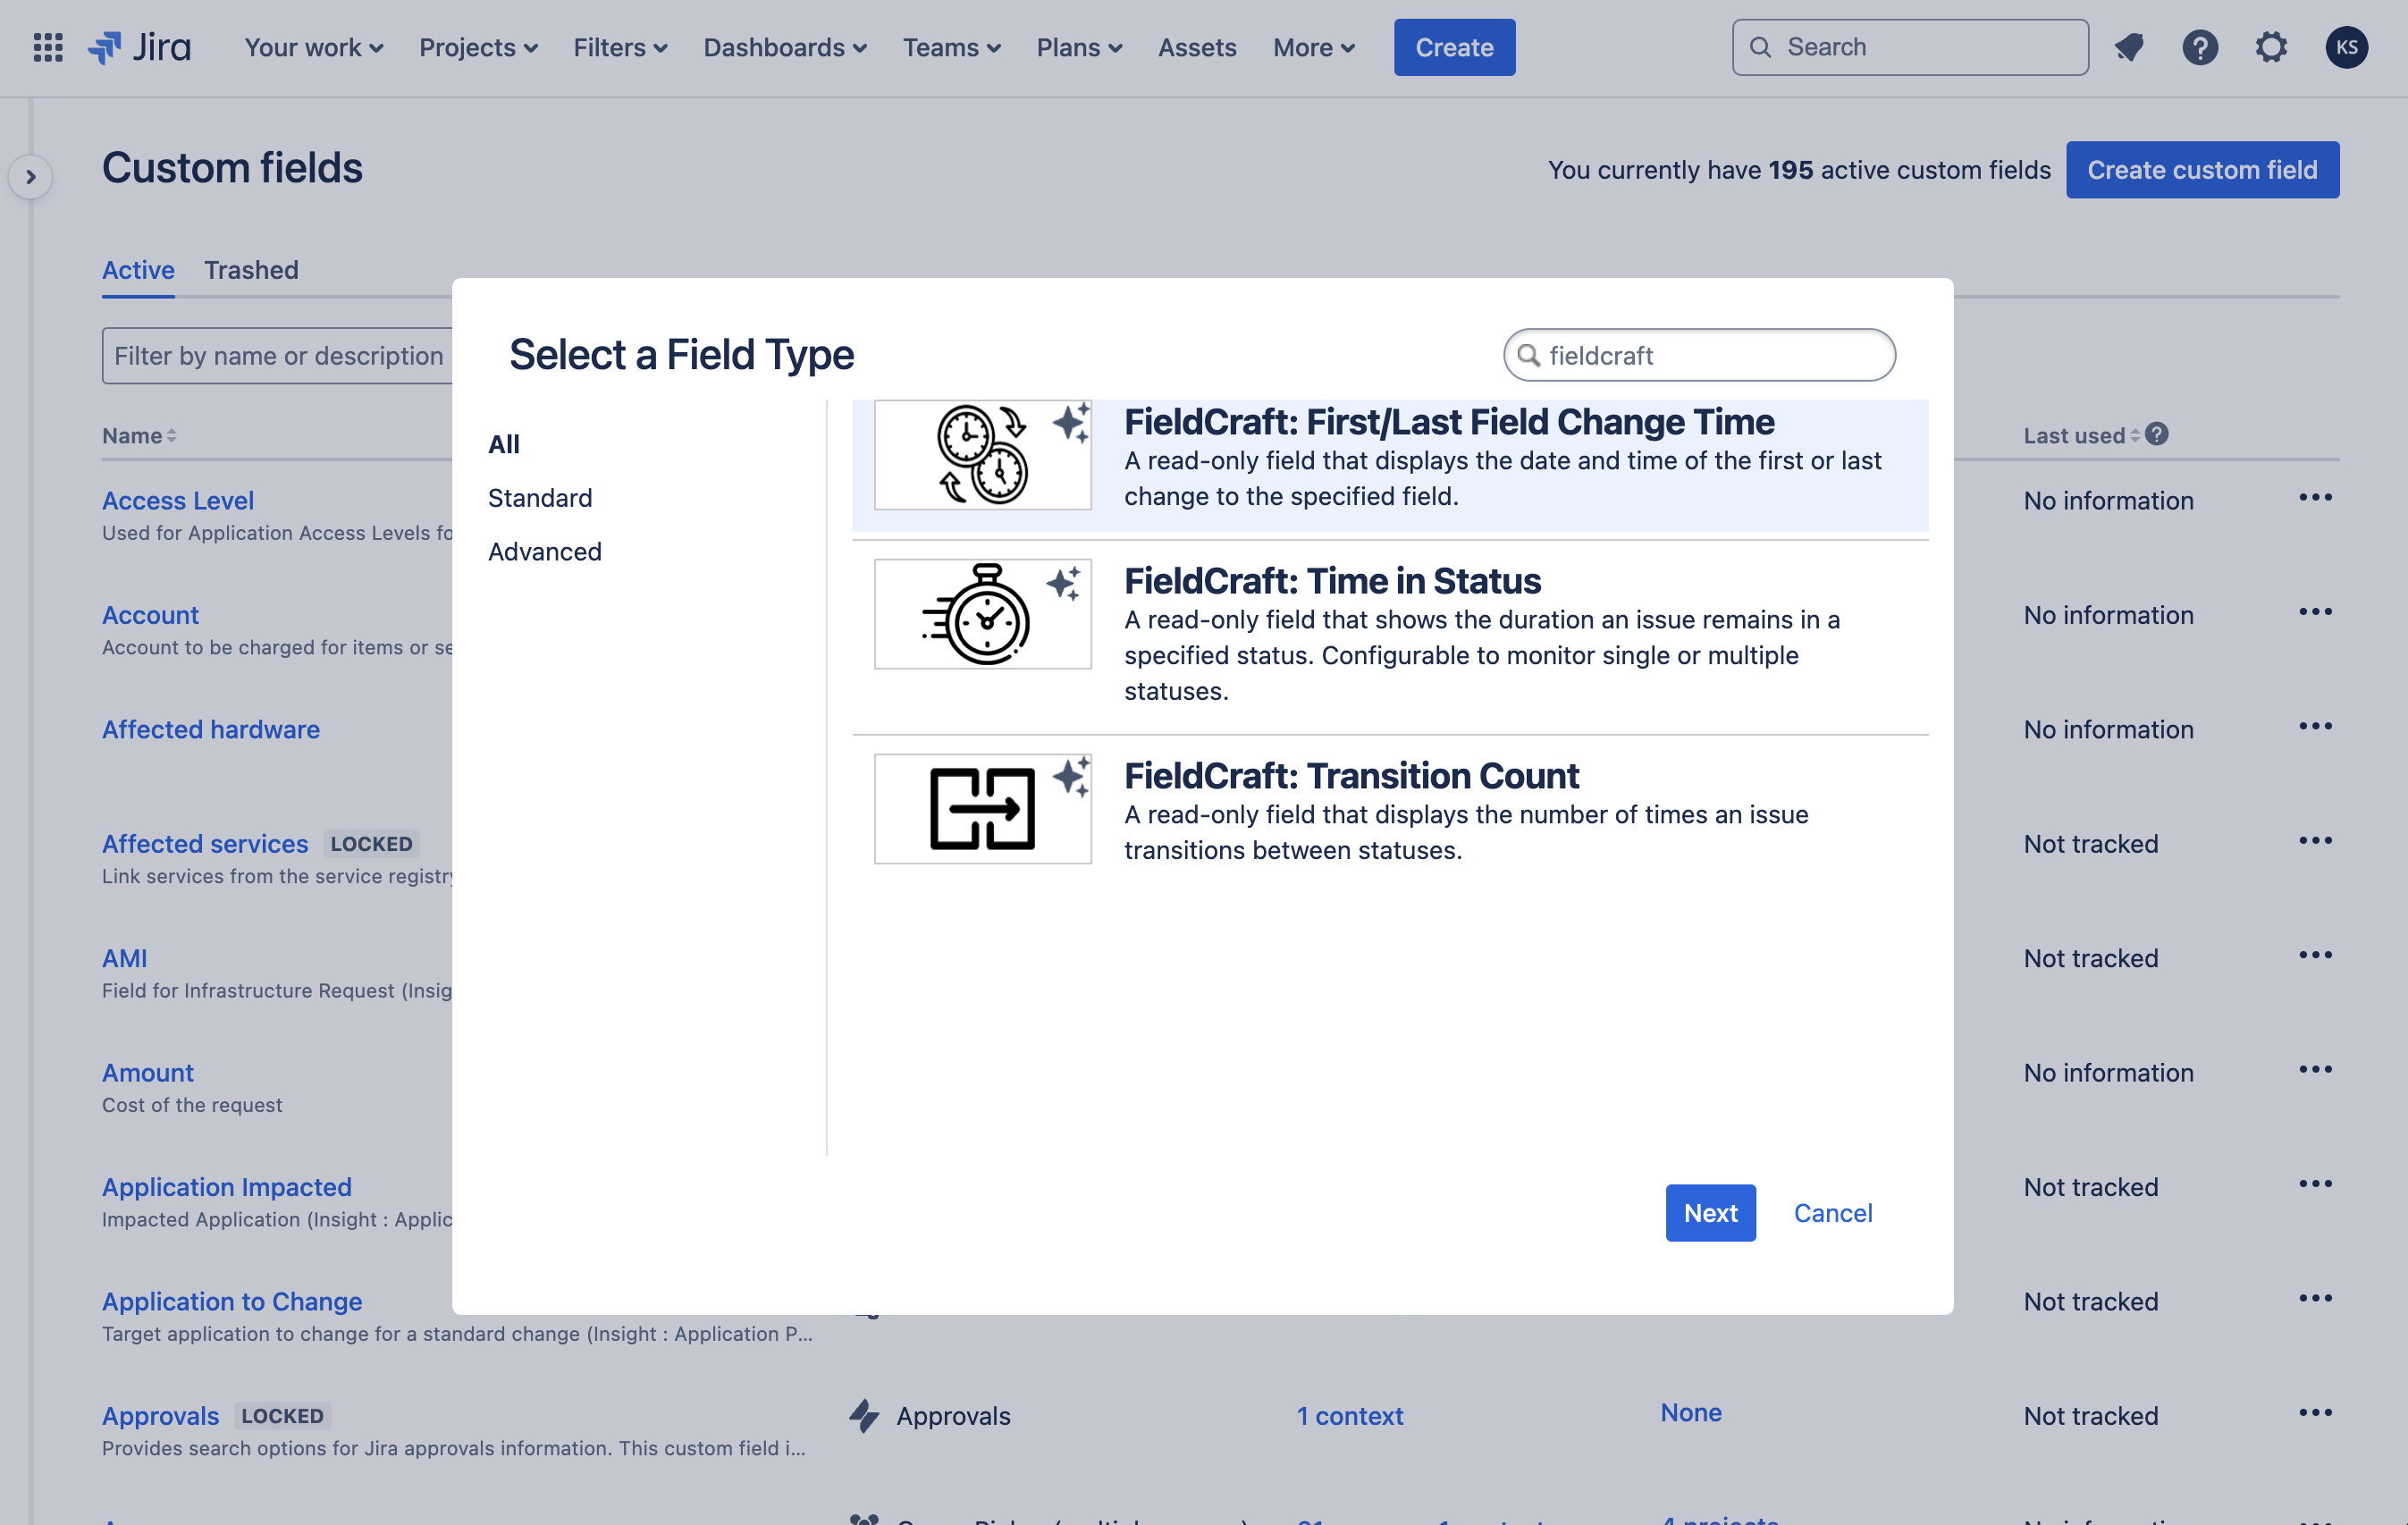
- In the Select a Field Type window, click Advanced.
- Choose the FieldCraft field type you want to add and click Next.
- Provide a name and optionally, a description for the custom field.
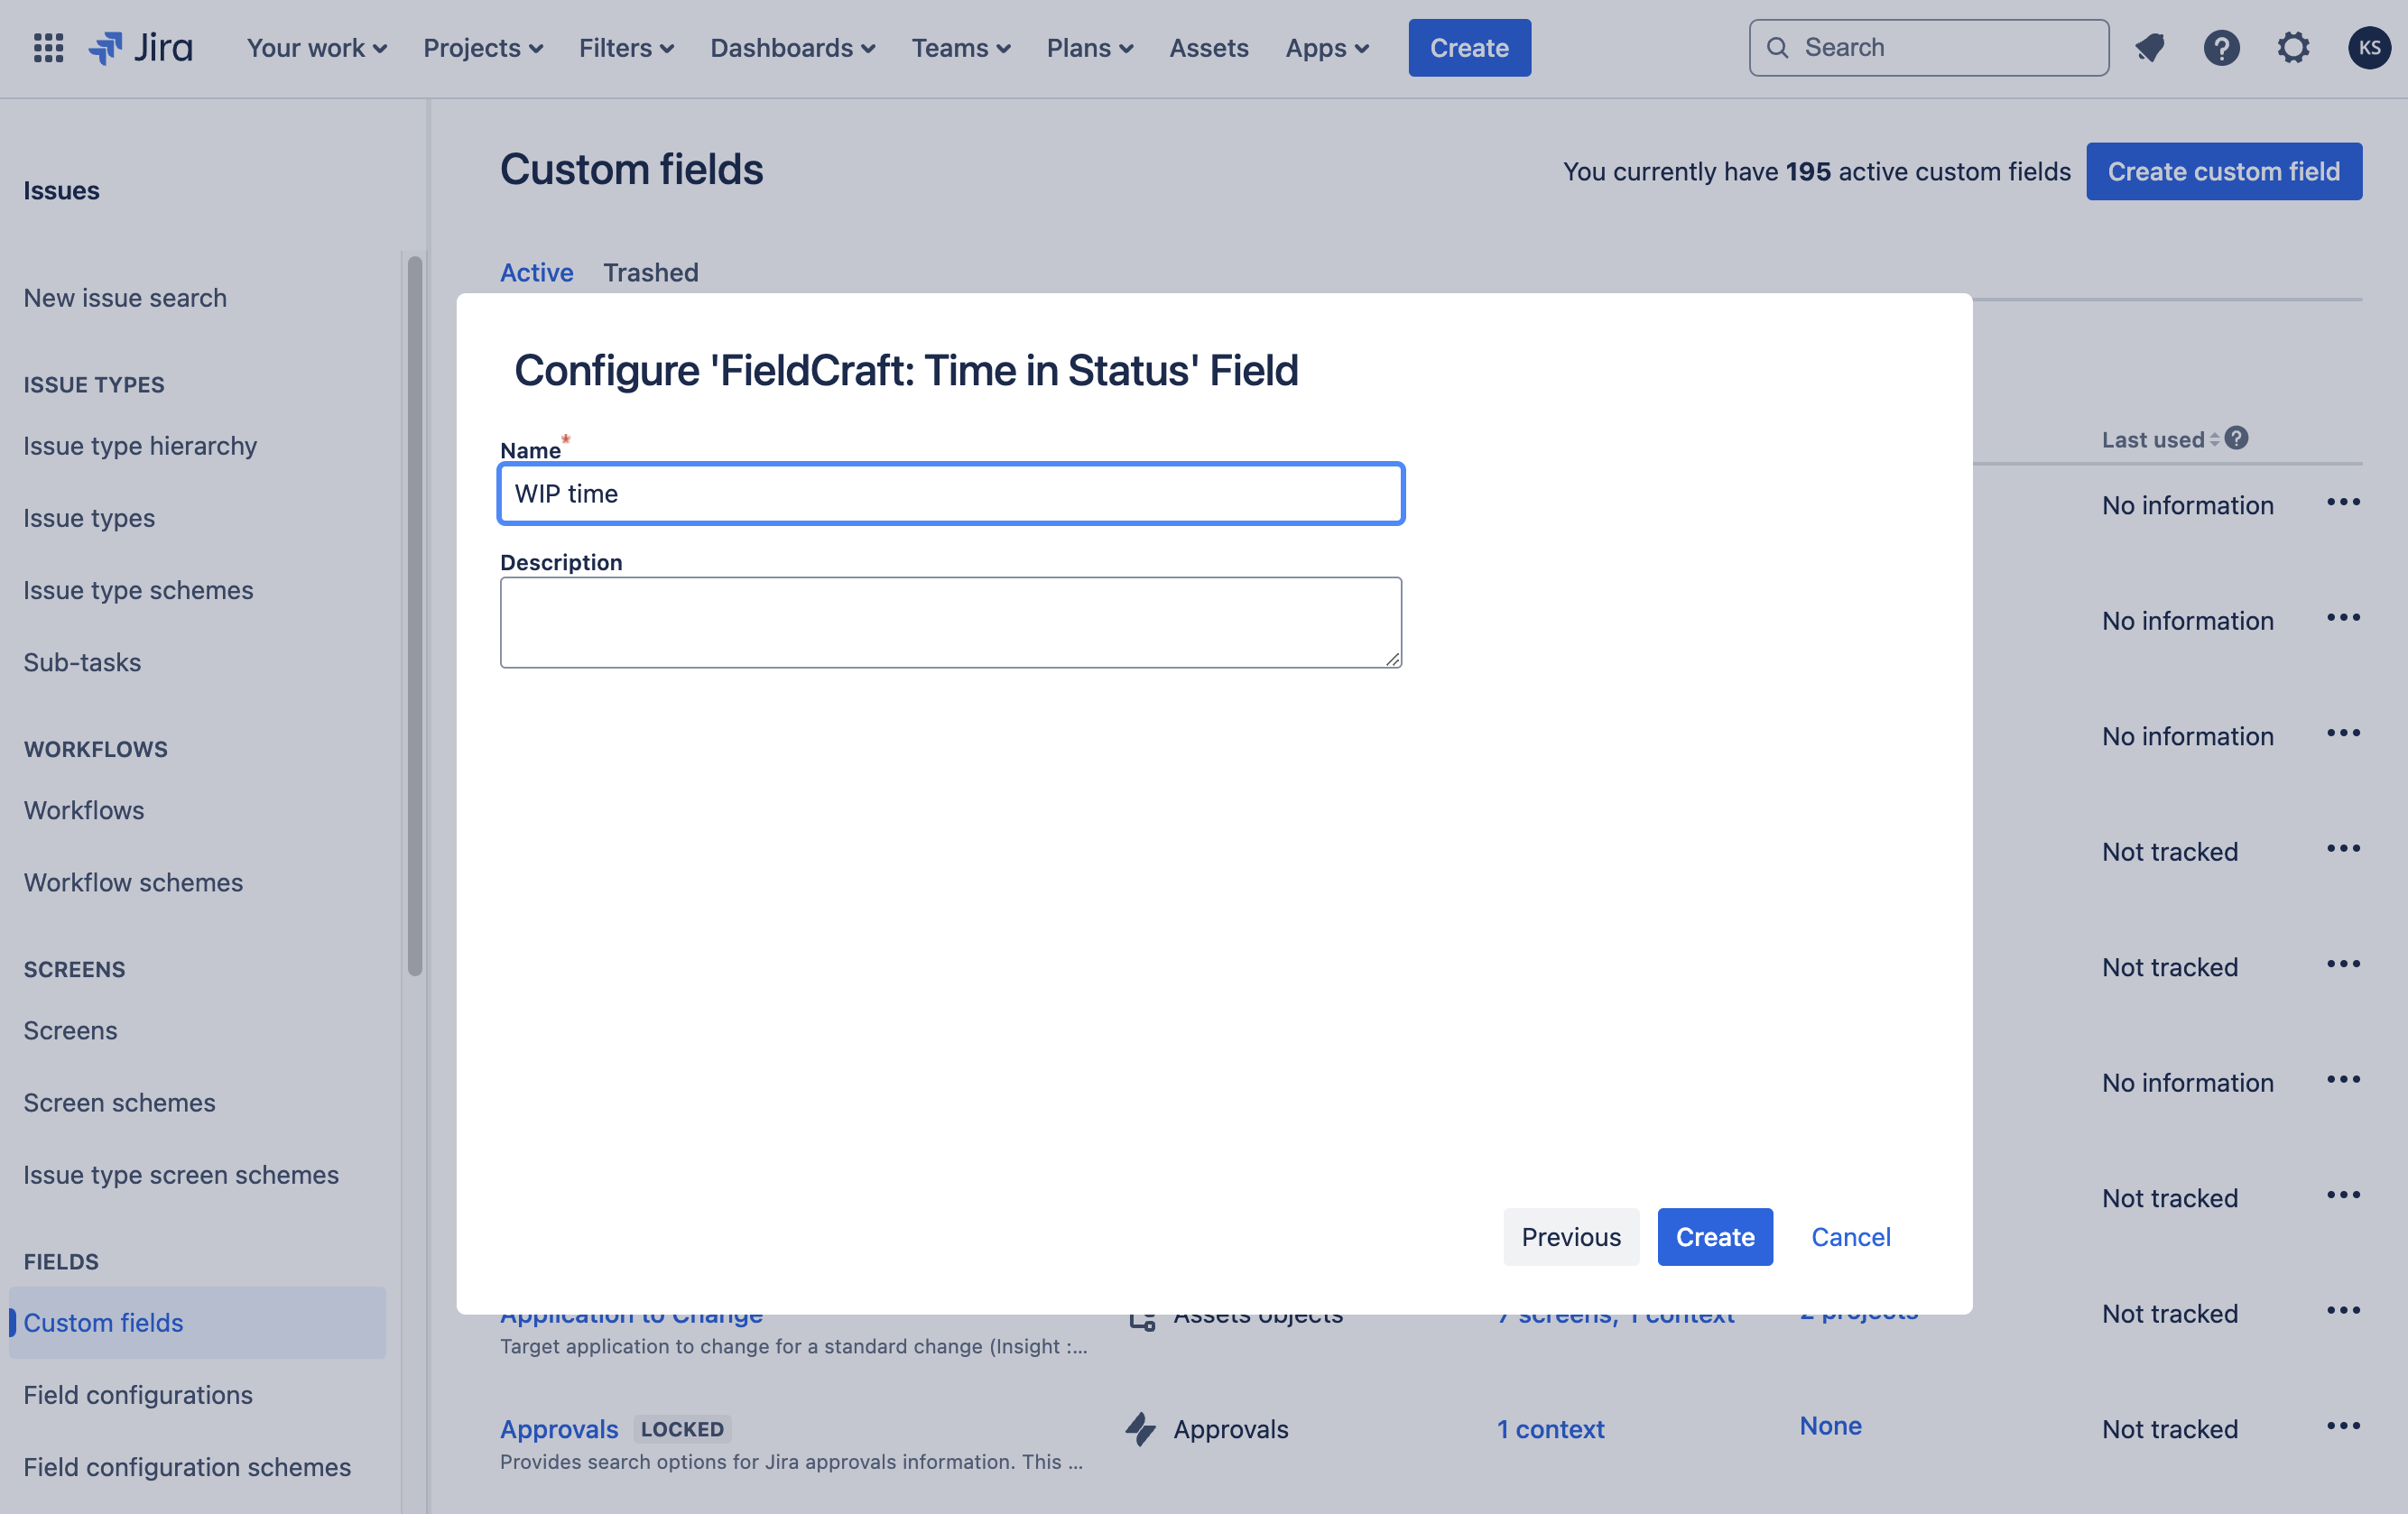
- Click Create.
- Follow the steps in the next section to configure your custom field.

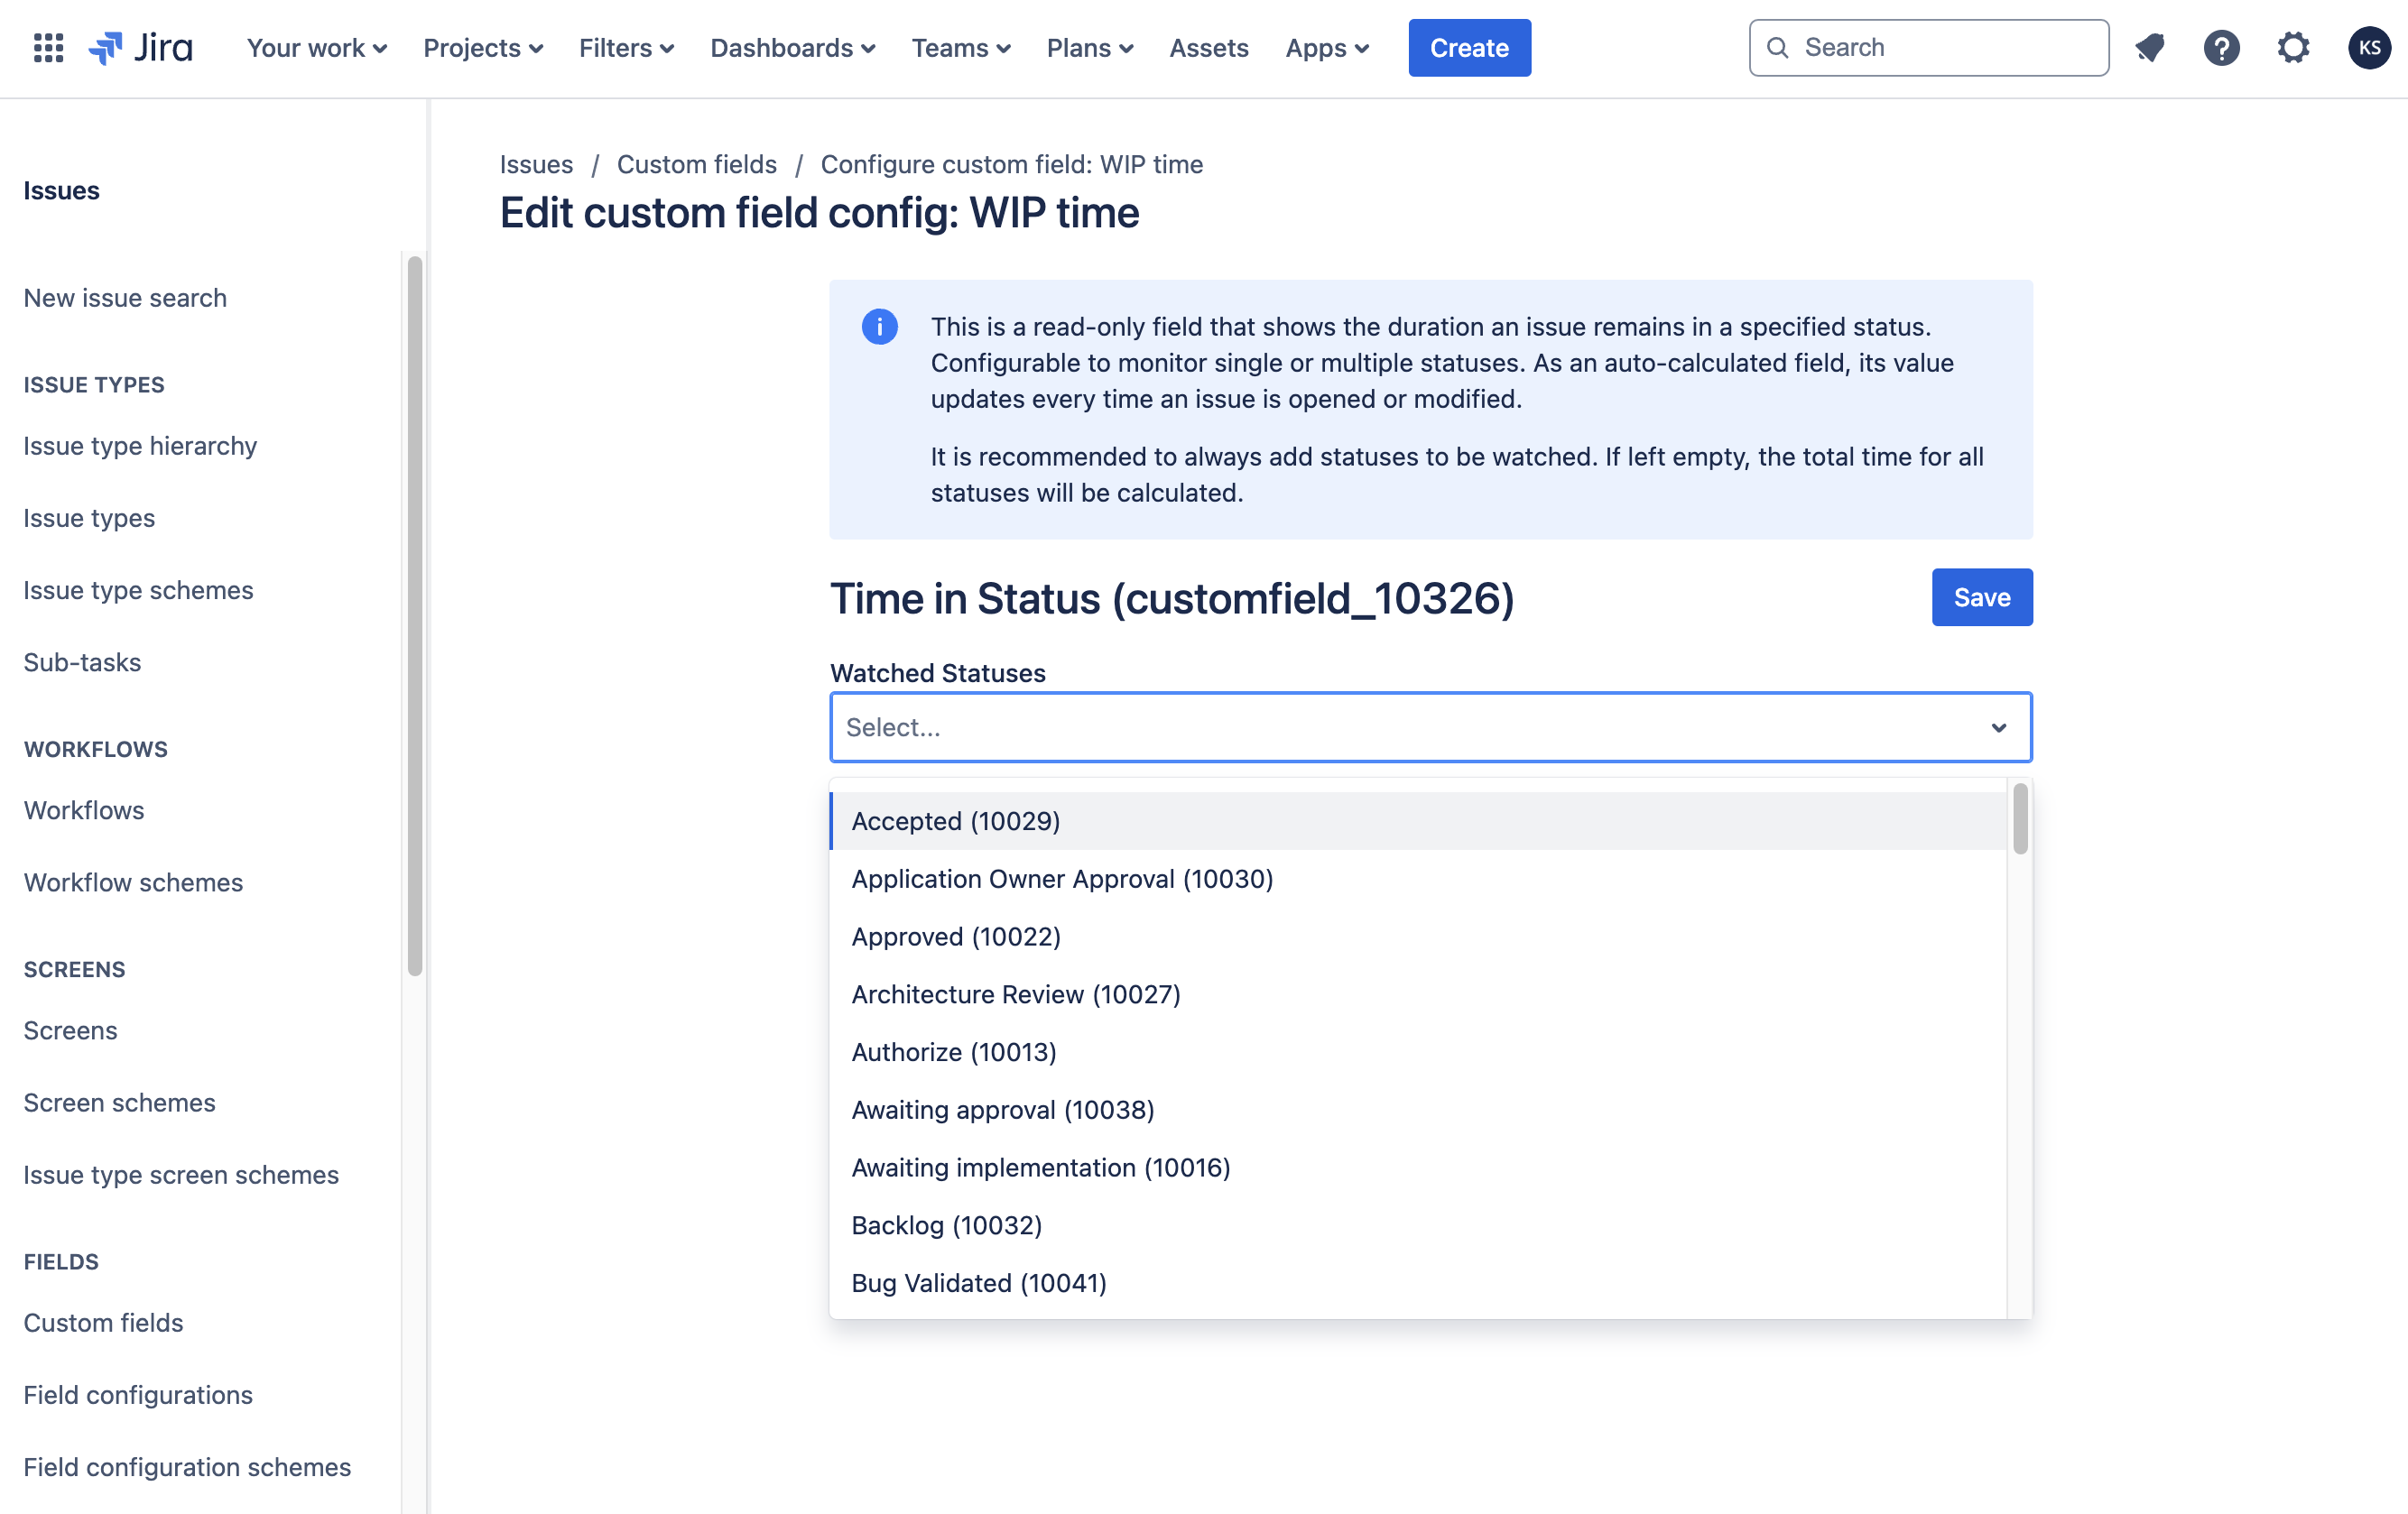
note
The new custom field will not calculate until its contexts have been updated. This applies even when the custom field is configured for the Default context.
Validate after setup
After creating and configuring a custom field, validate it before rolling out broadly:
- Open a test issue in a project where the field context is enabled.
- Confirm the field is visible on the expected screen.
- Trigger a relevant change (for example, a status transition or field update).
- Refresh the issue view and confirm the field value updates as expected.
- If older issues still show stale values after configuration changes, run Reindex.
For known update behavior and platform constraints, review Performance and limitations.
Edit a Custom Field
To edit a FieldCraft custom field:
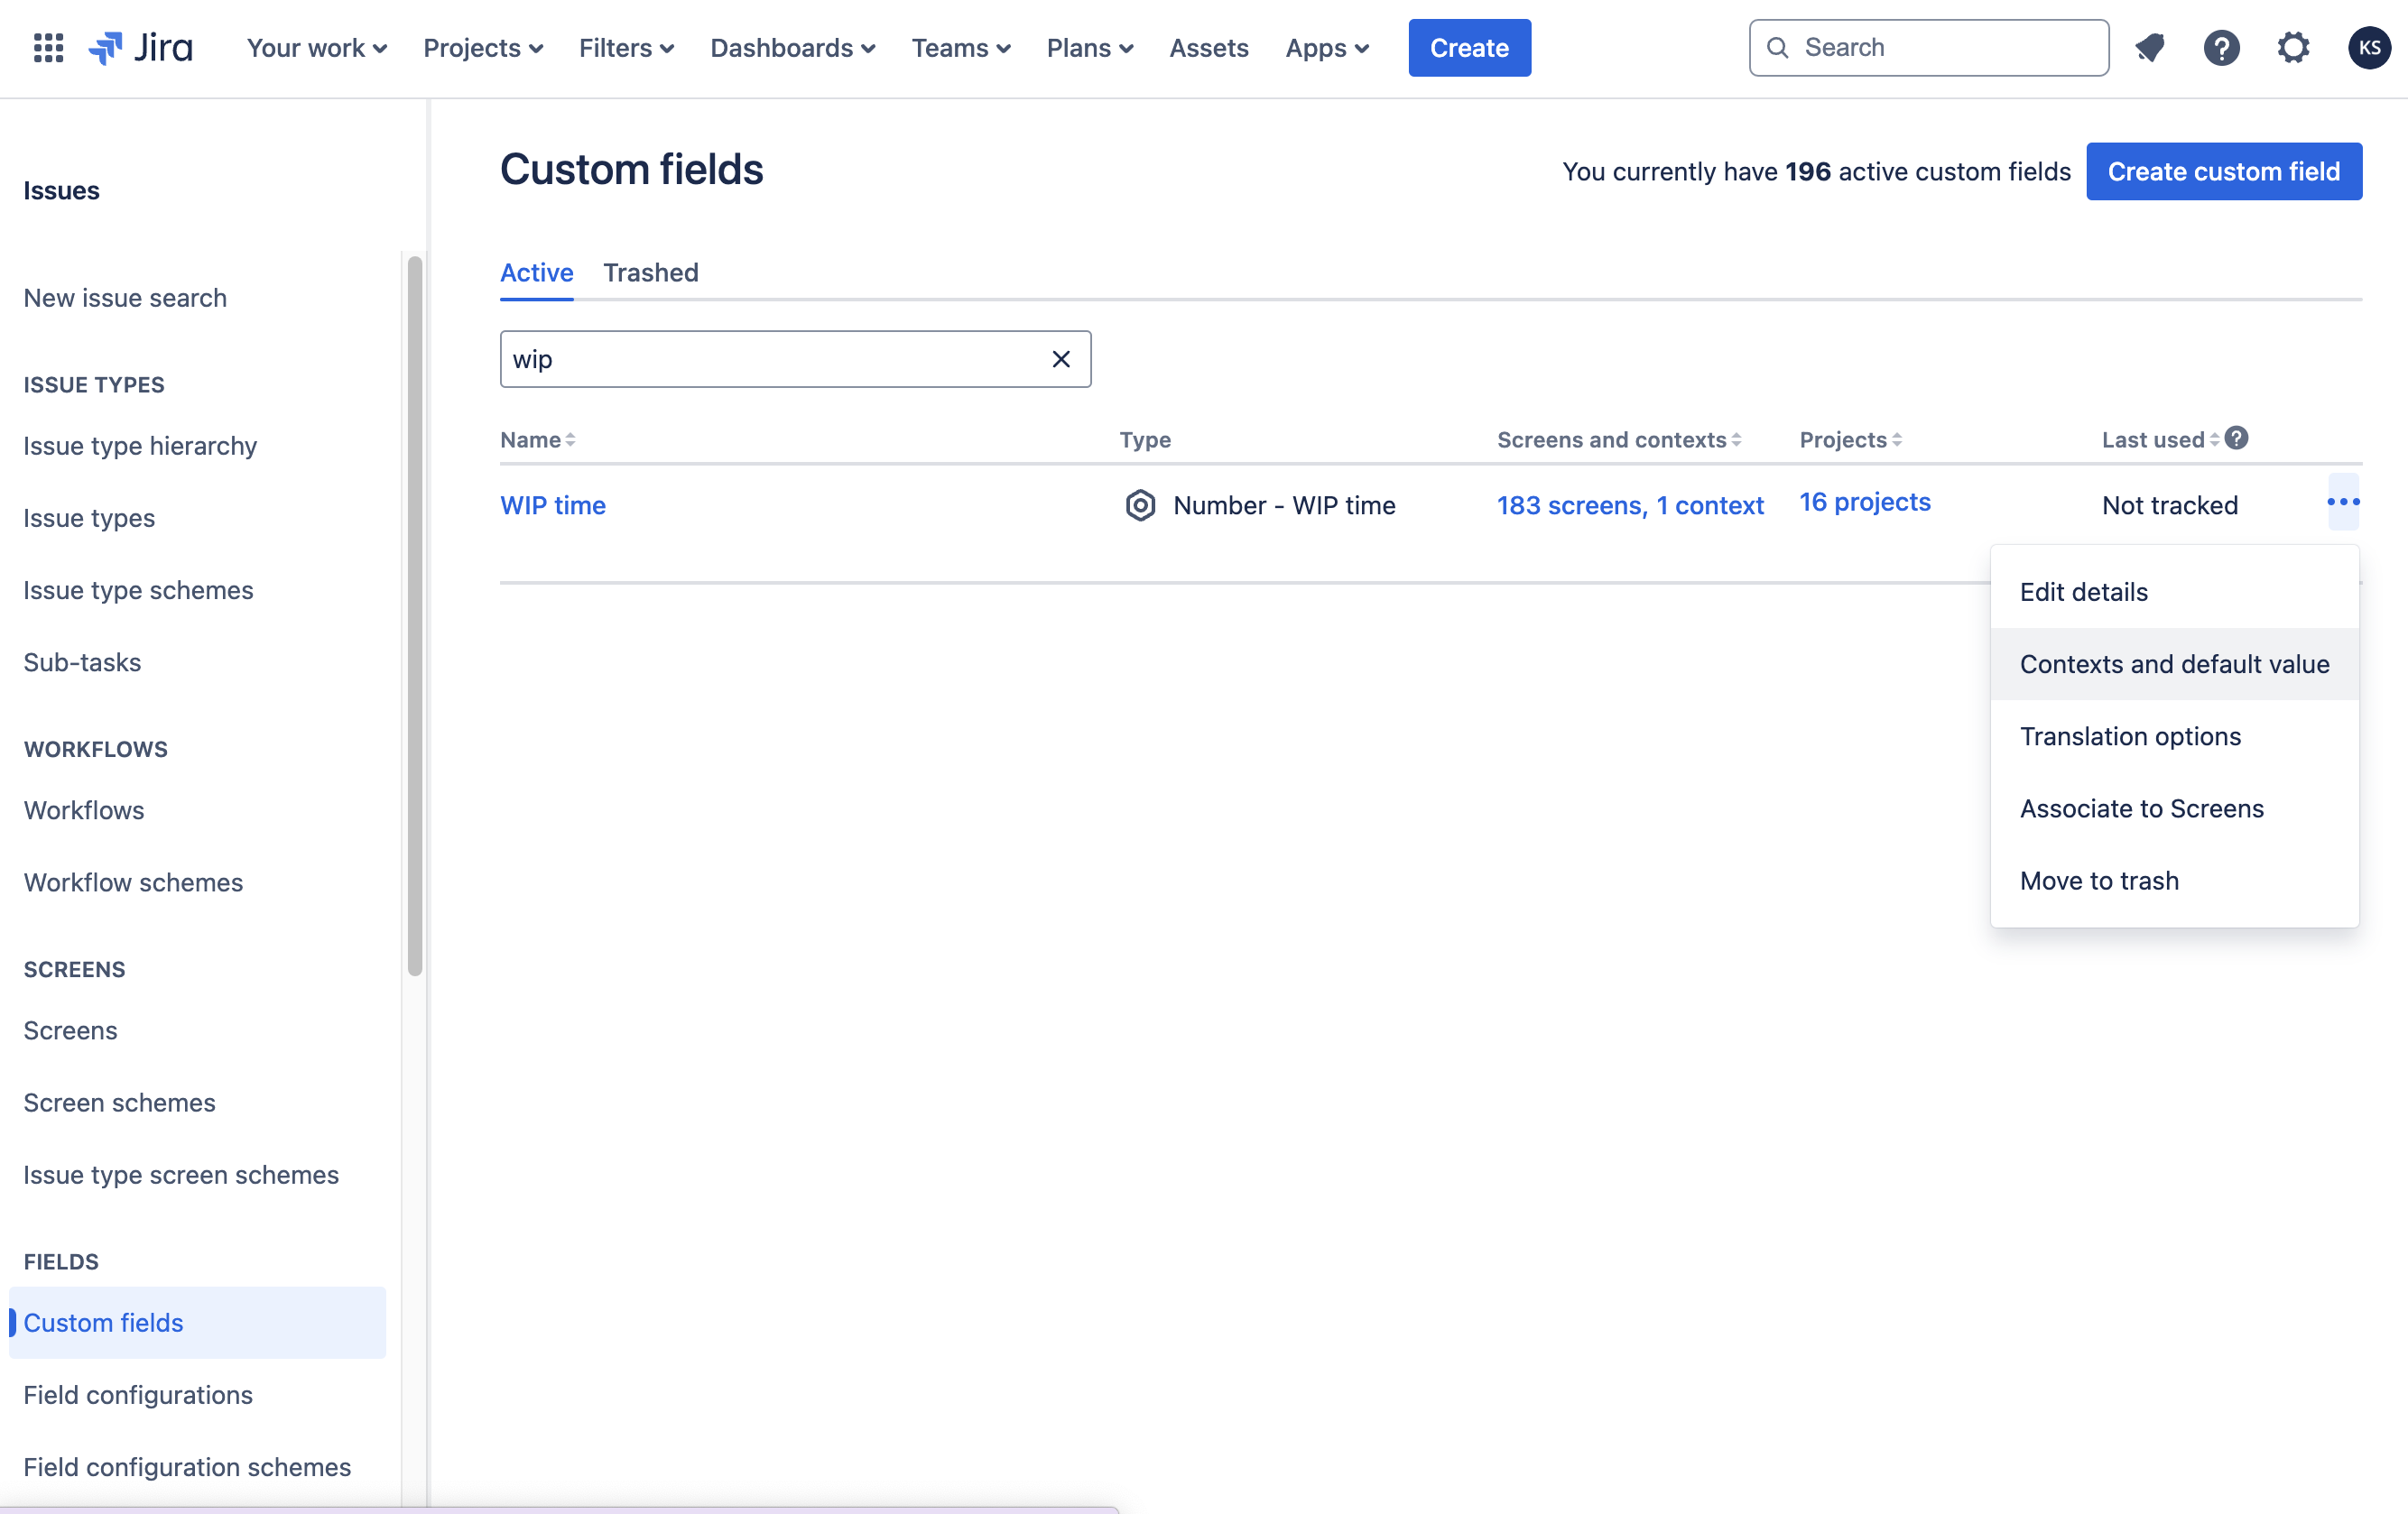
- Go to the Jira Custom fields administration page.
- Find your custom field and click Actions.
- Choose an option:
- Edit details: Update the Field Name, Description, and Search Template.
- Contexts and default value: Add or remove contexts, configure Default Value, and access Custom field config.
- Translation and options: Set language-specific Name and Description.
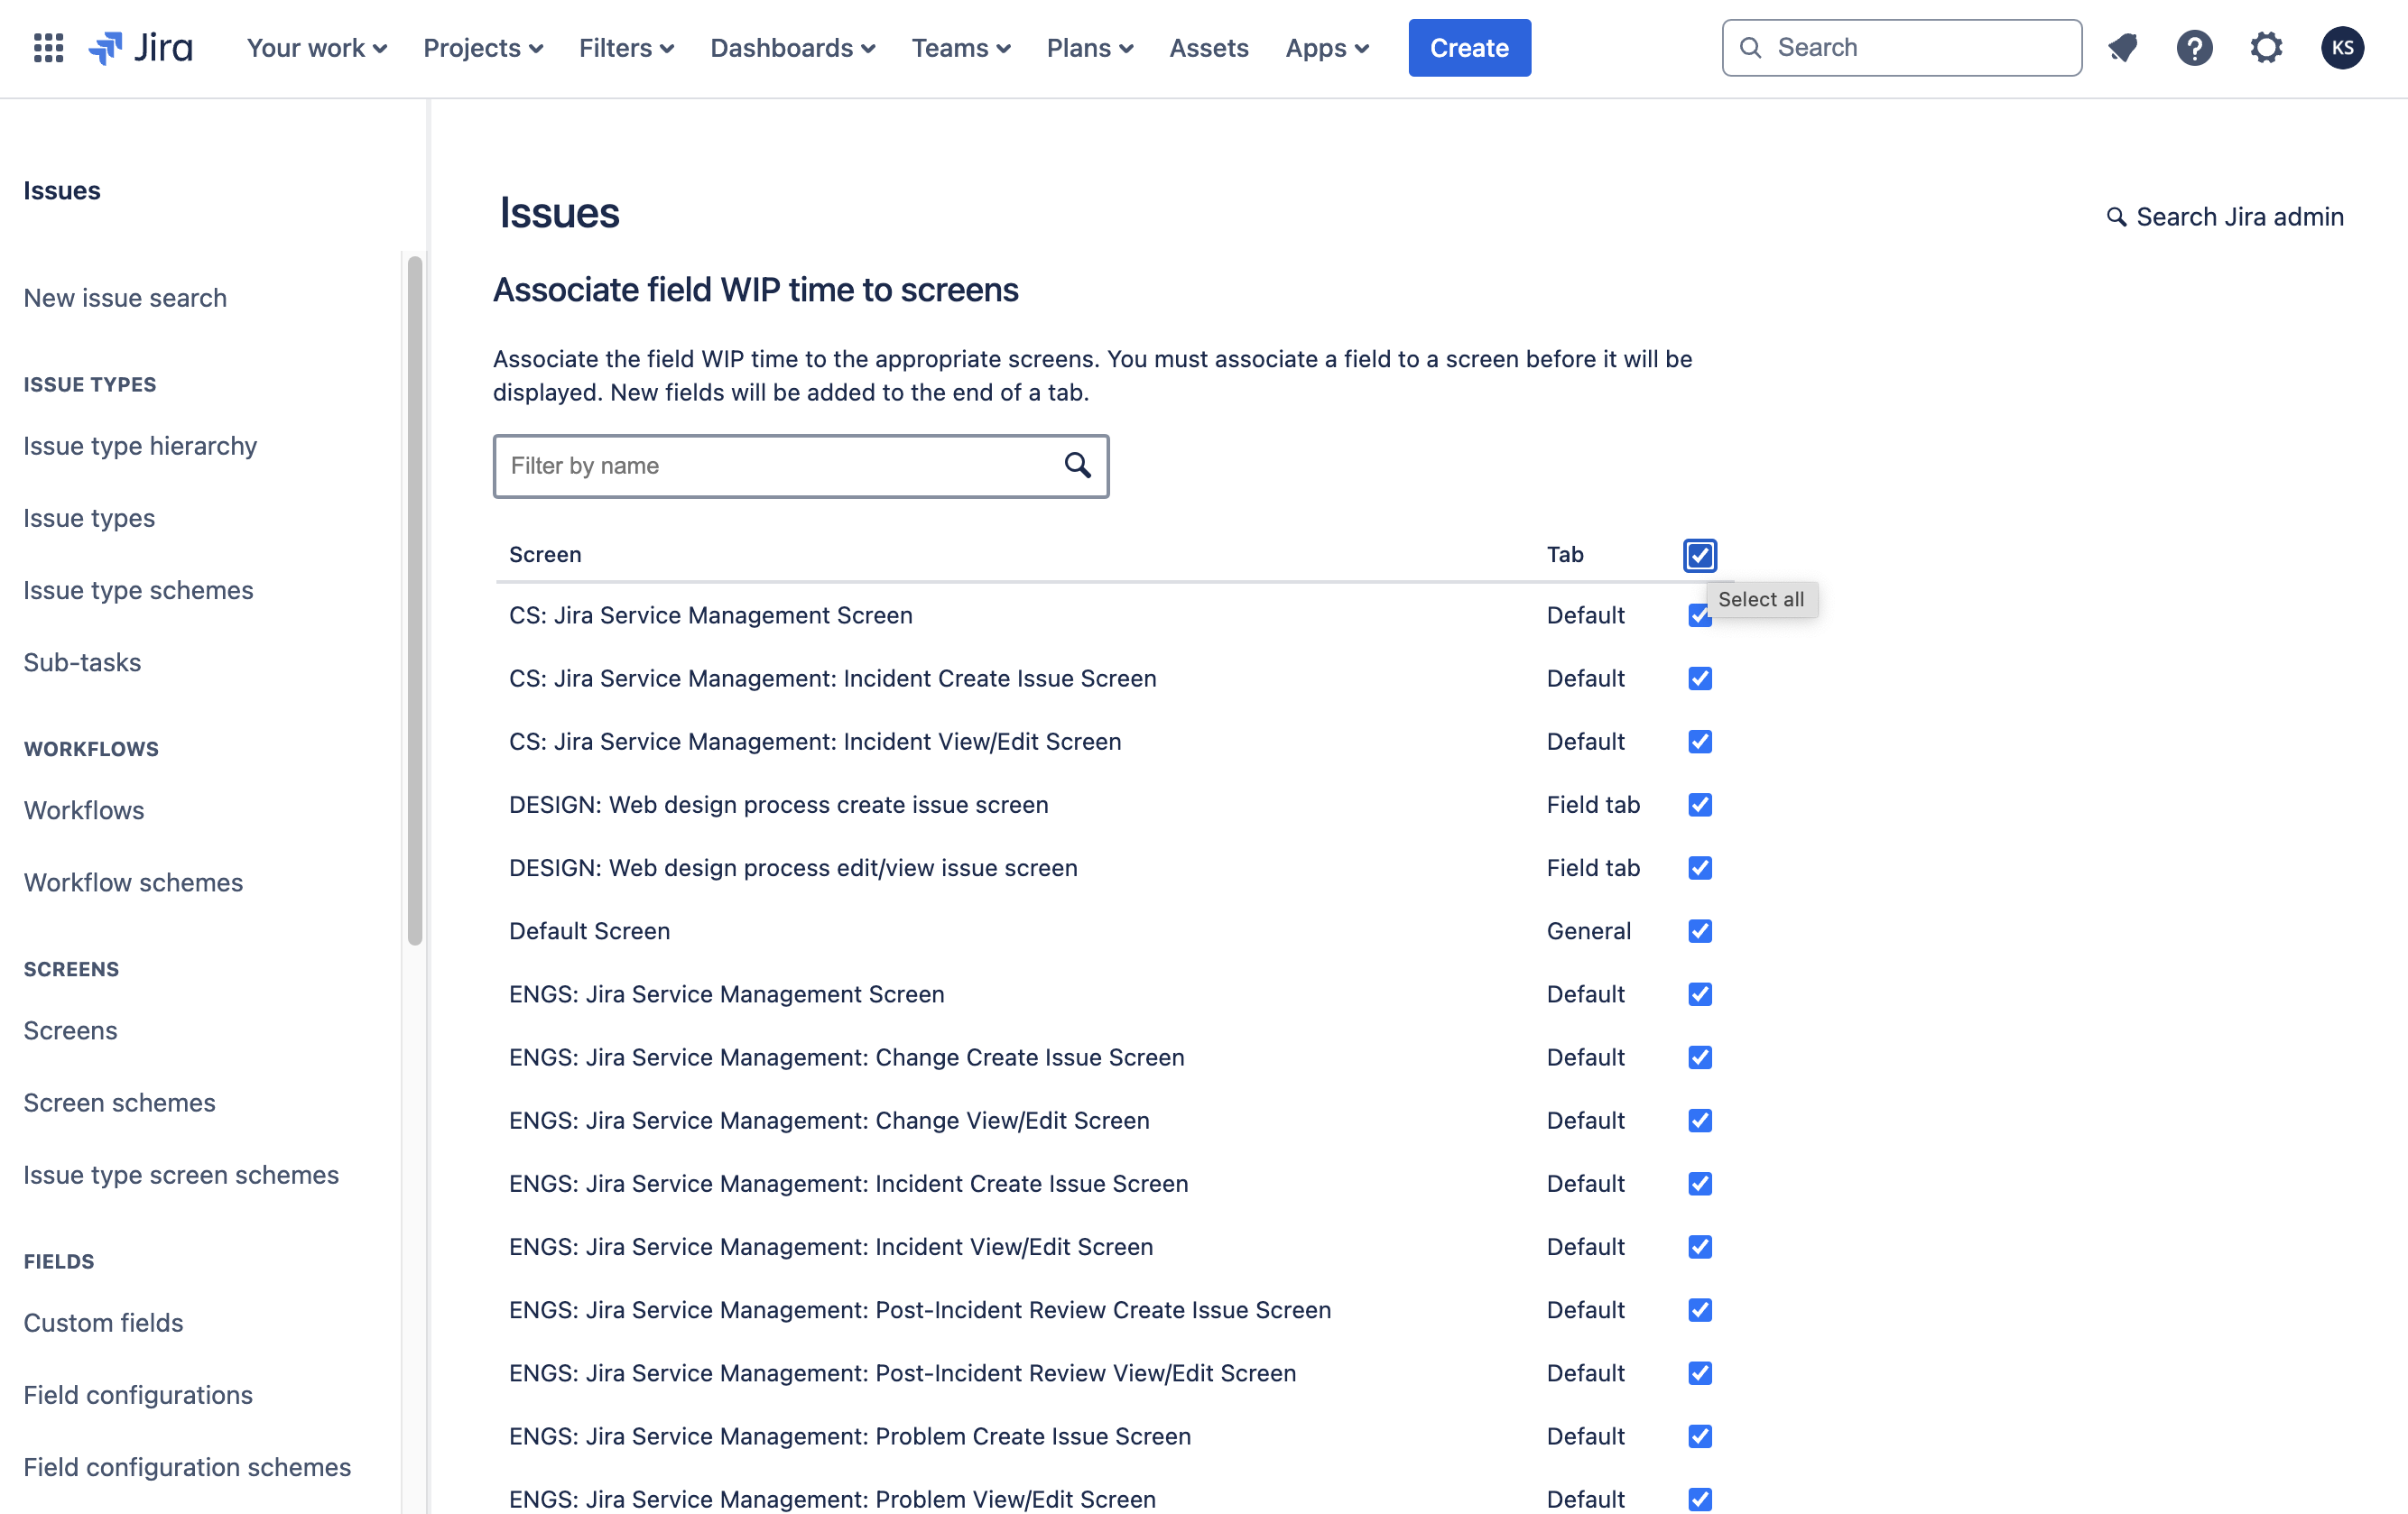
- Associate to Screens: Add or remove screens where the field appears.
- Move to Trash: Remove the field from all screens and move it to Trash.
note
- Custom fields can be recovered from the Trash within 60 days.
- After 60 days, the field will be permanently deleted and cannot be recovered.