Create a scripted custom field
Create the field in Jira, put it on screens, then give it a script. This page covers the first two parts.
Applies to: Script Master for Jira · Cloud
Before you begin
- Jira permission: Jira admin (the Administer Jira global permission).
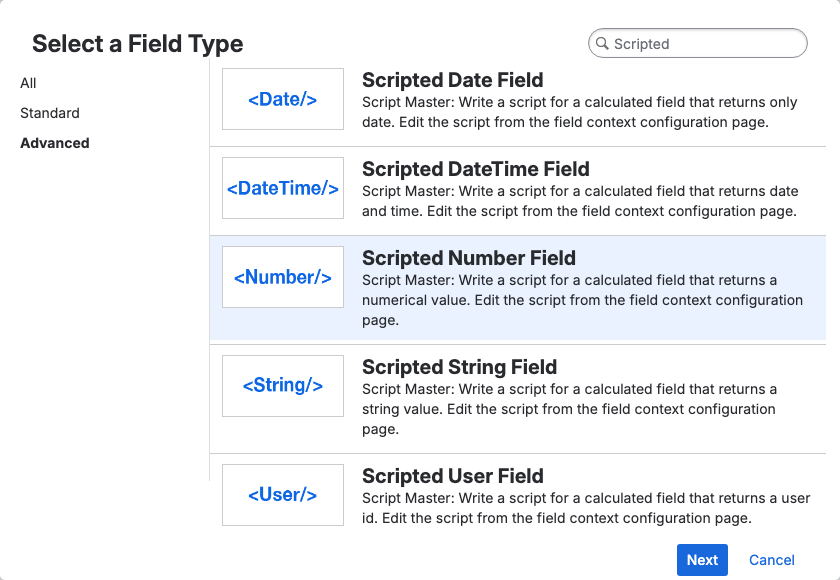
- Decide which of the five field types fits the value you want to show. You can't change a field's type later.
Create the field
-
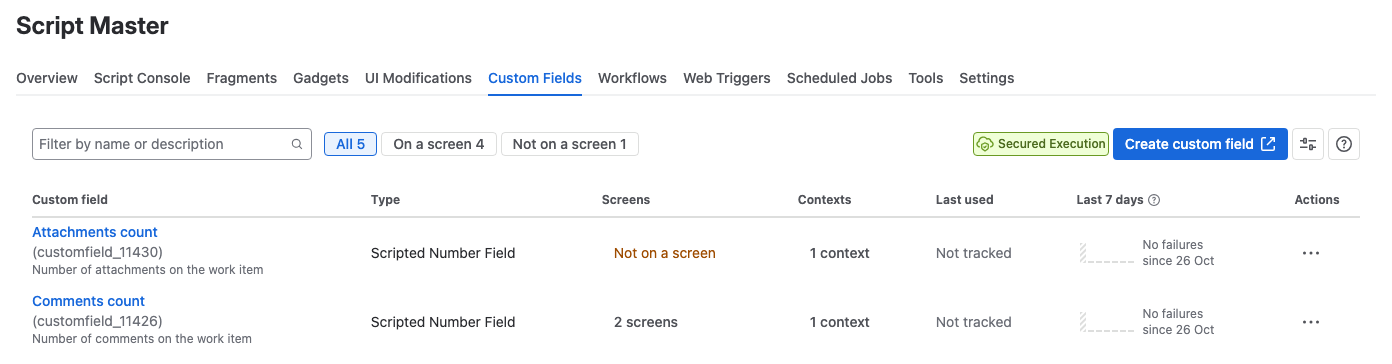
In Script Master, open the Custom Fields tab.
-
Select Create custom field. Jira's Custom fields page opens.
-
On Jira's page, select Create custom field.
-
Under Advanced, select one of the Scripted types, for example Scripted Number Field, then select Next.
-
Enter a name, for example
Comments count, and an optional description. -
Select Create.
-
Select the screens where the field should appear, then select Update.
Result: The field exists in Jira and shows up on the Custom Fields tab. It stays empty on every work item until you add a script to its context.
Add the script
Each field context holds its own script. Open the context from Jira's field settings and write the script there. See Write the field script.
Change or remove the field
On the Custom Fields tab, open the field's Actions menu:
- Edit details opens the field's name and description in Jira.
- Contexts and default value opens its contexts in a new tab, where you change the script.
- Screens opens the screens the field is on.
- Move to trash… removes the field from screens and work items.
A field in the trash disappears from screens and work items. Jira deletes it for good after 60 days. Until then, a Jira admin can restore it from Jira's Custom fields page.
Related
- Scripted custom fields: the field types and what a script can use.
- The Custom Fields tab: every scripted field on the site in one list.
- Comments count: a first script to try.