Sharing a Work Item
This guide walks you through sharing a Jira Work Item with an external collaborator using a unique, secure public link — no Jira account required on the recipient's side.
Step 1: Open the Work Item
Navigate to any Jira Work Item you want to share.
Step 2: Open the Actions Menu
Click the three-dot menu (⋯) in the top-right corner of the Work Item — sometimes called the kebab menu or Actions menu. From the dropdown, select "Share Public Link".
If the "Share Public Link" option is missing, it has been disabled for your account by your Jira administrator. See the FAQ below for more details.
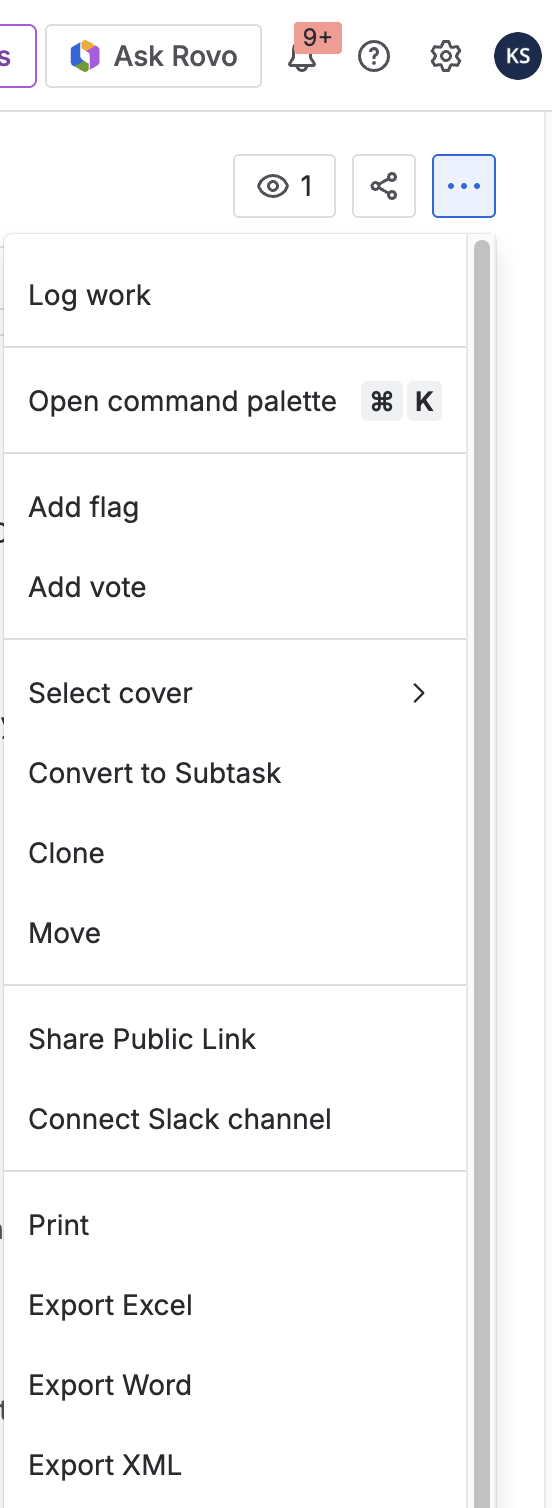
Screenshot: The Work Item kebab menu with "Share Public Link" highlighted
Step 3: Configure What to Share
A modal window appears with sharing options. The core Work Item fields — such as summary, description, status, priority, and assignee — are always included in the shared view.
The following additional content sections are disabled by default. Enable the ones you want to expose to the recipient:
| Option | What it includes |
|---|---|
| Attachments | Files and images attached to the Work Item |
| Comments | All internal comments on the Work Item |
| Work Logs | Time tracking entries logged on the Work Item |
| Linked Work Items | Issues linked via "relates to", "blocks", etc. |
| Sub-Work Items | Child issues / subtasks of the Work Item |
Toggle only the sections that are relevant and safe to share with the recipient.
Step 4: Share the Link
A unique link is automatically generated for the Work Item. This link is available to anyone who has it — no login required.
Copy the link and send it to your external collaborator via email, chat, or any other channel.
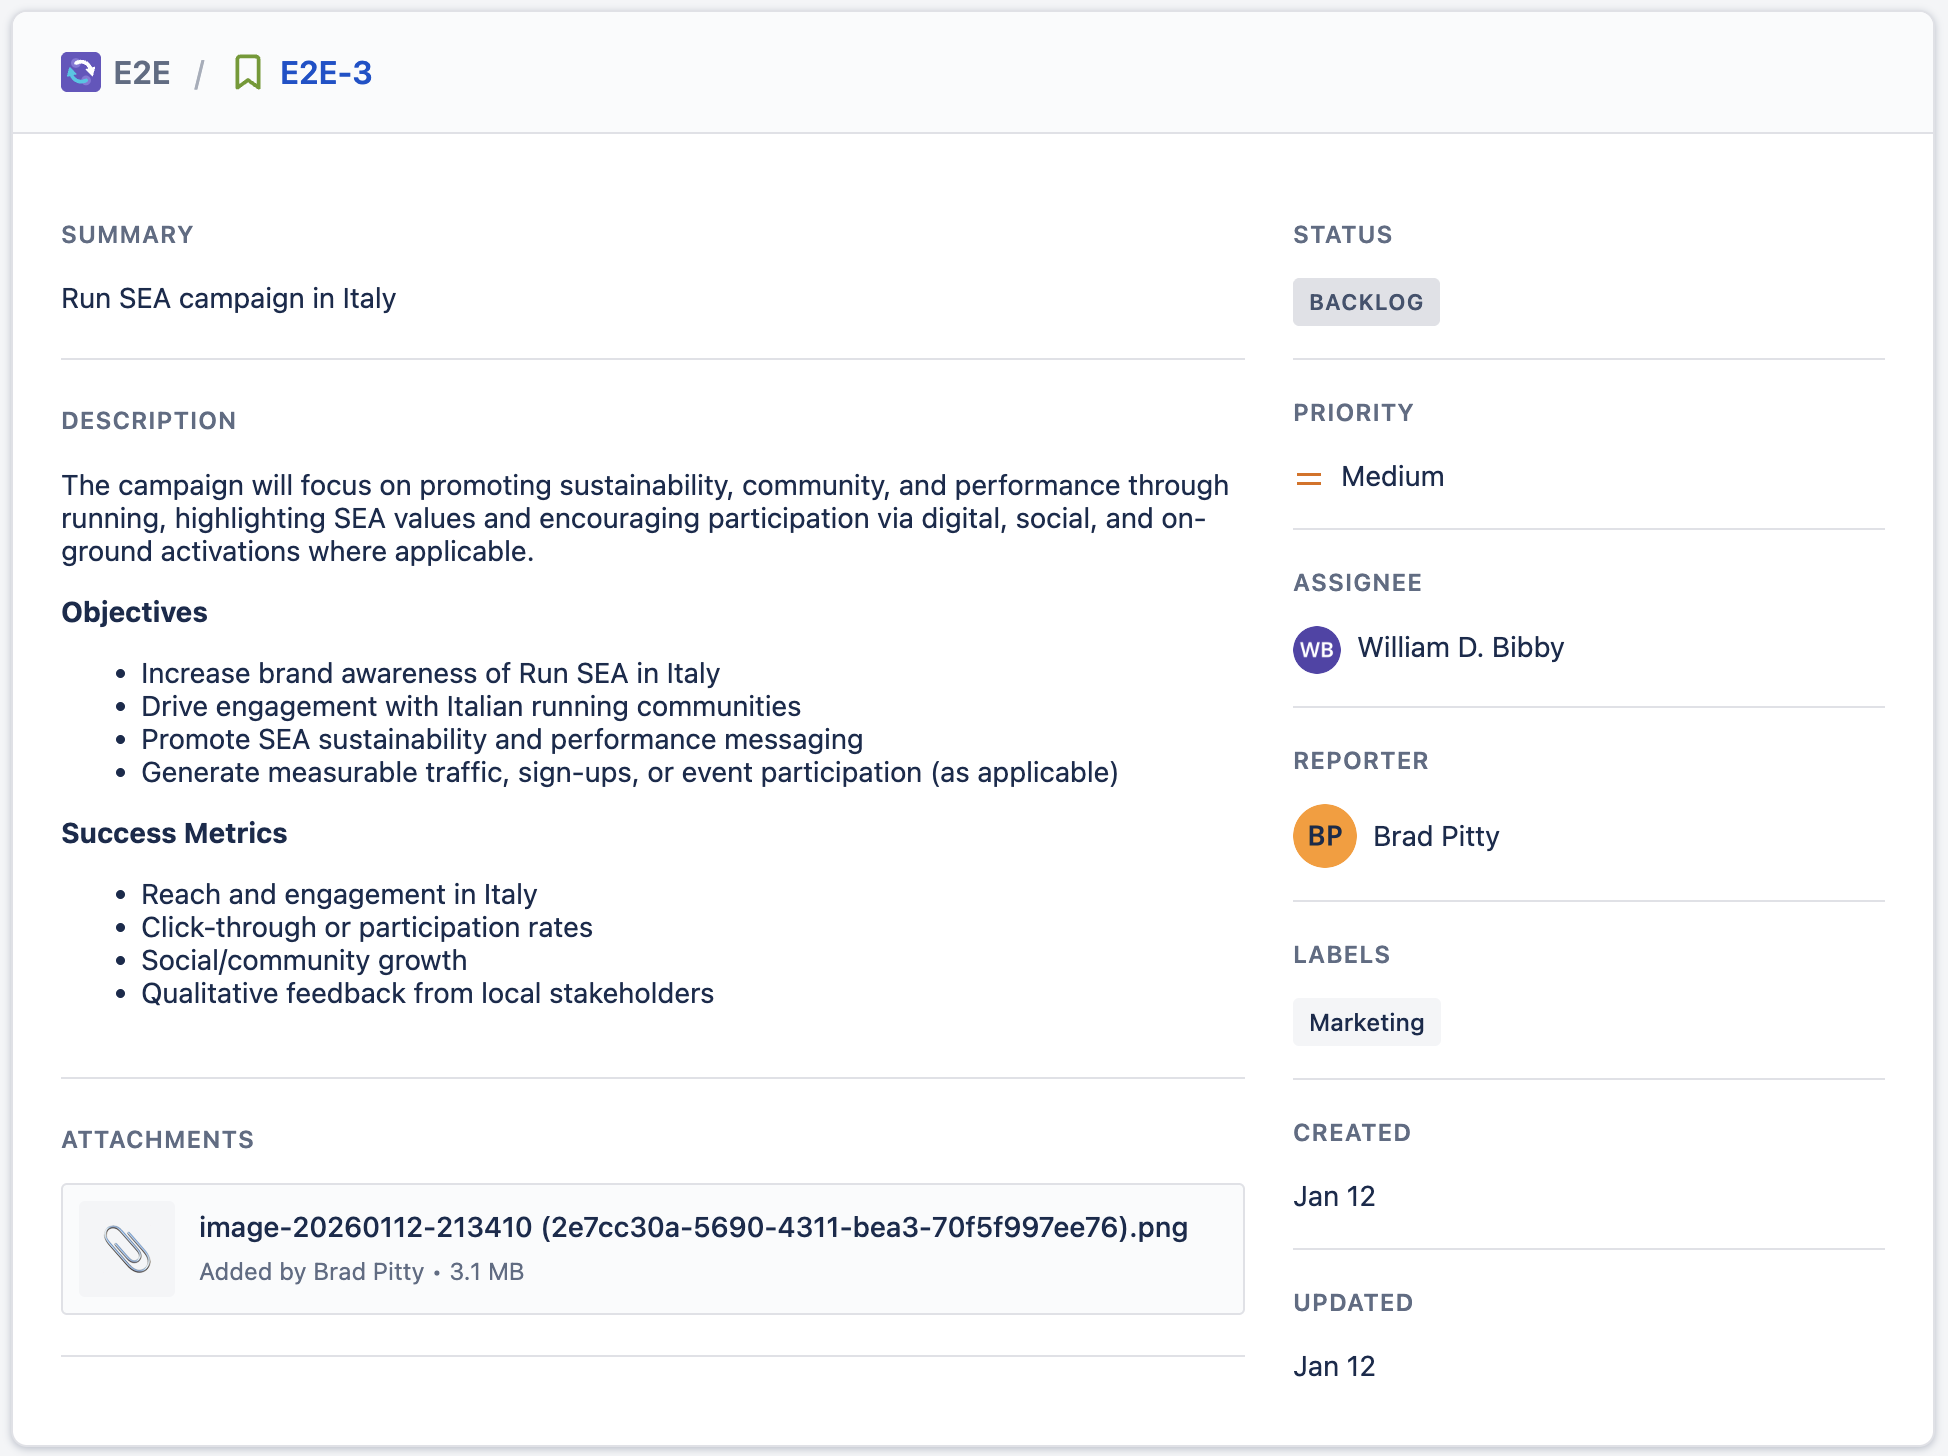
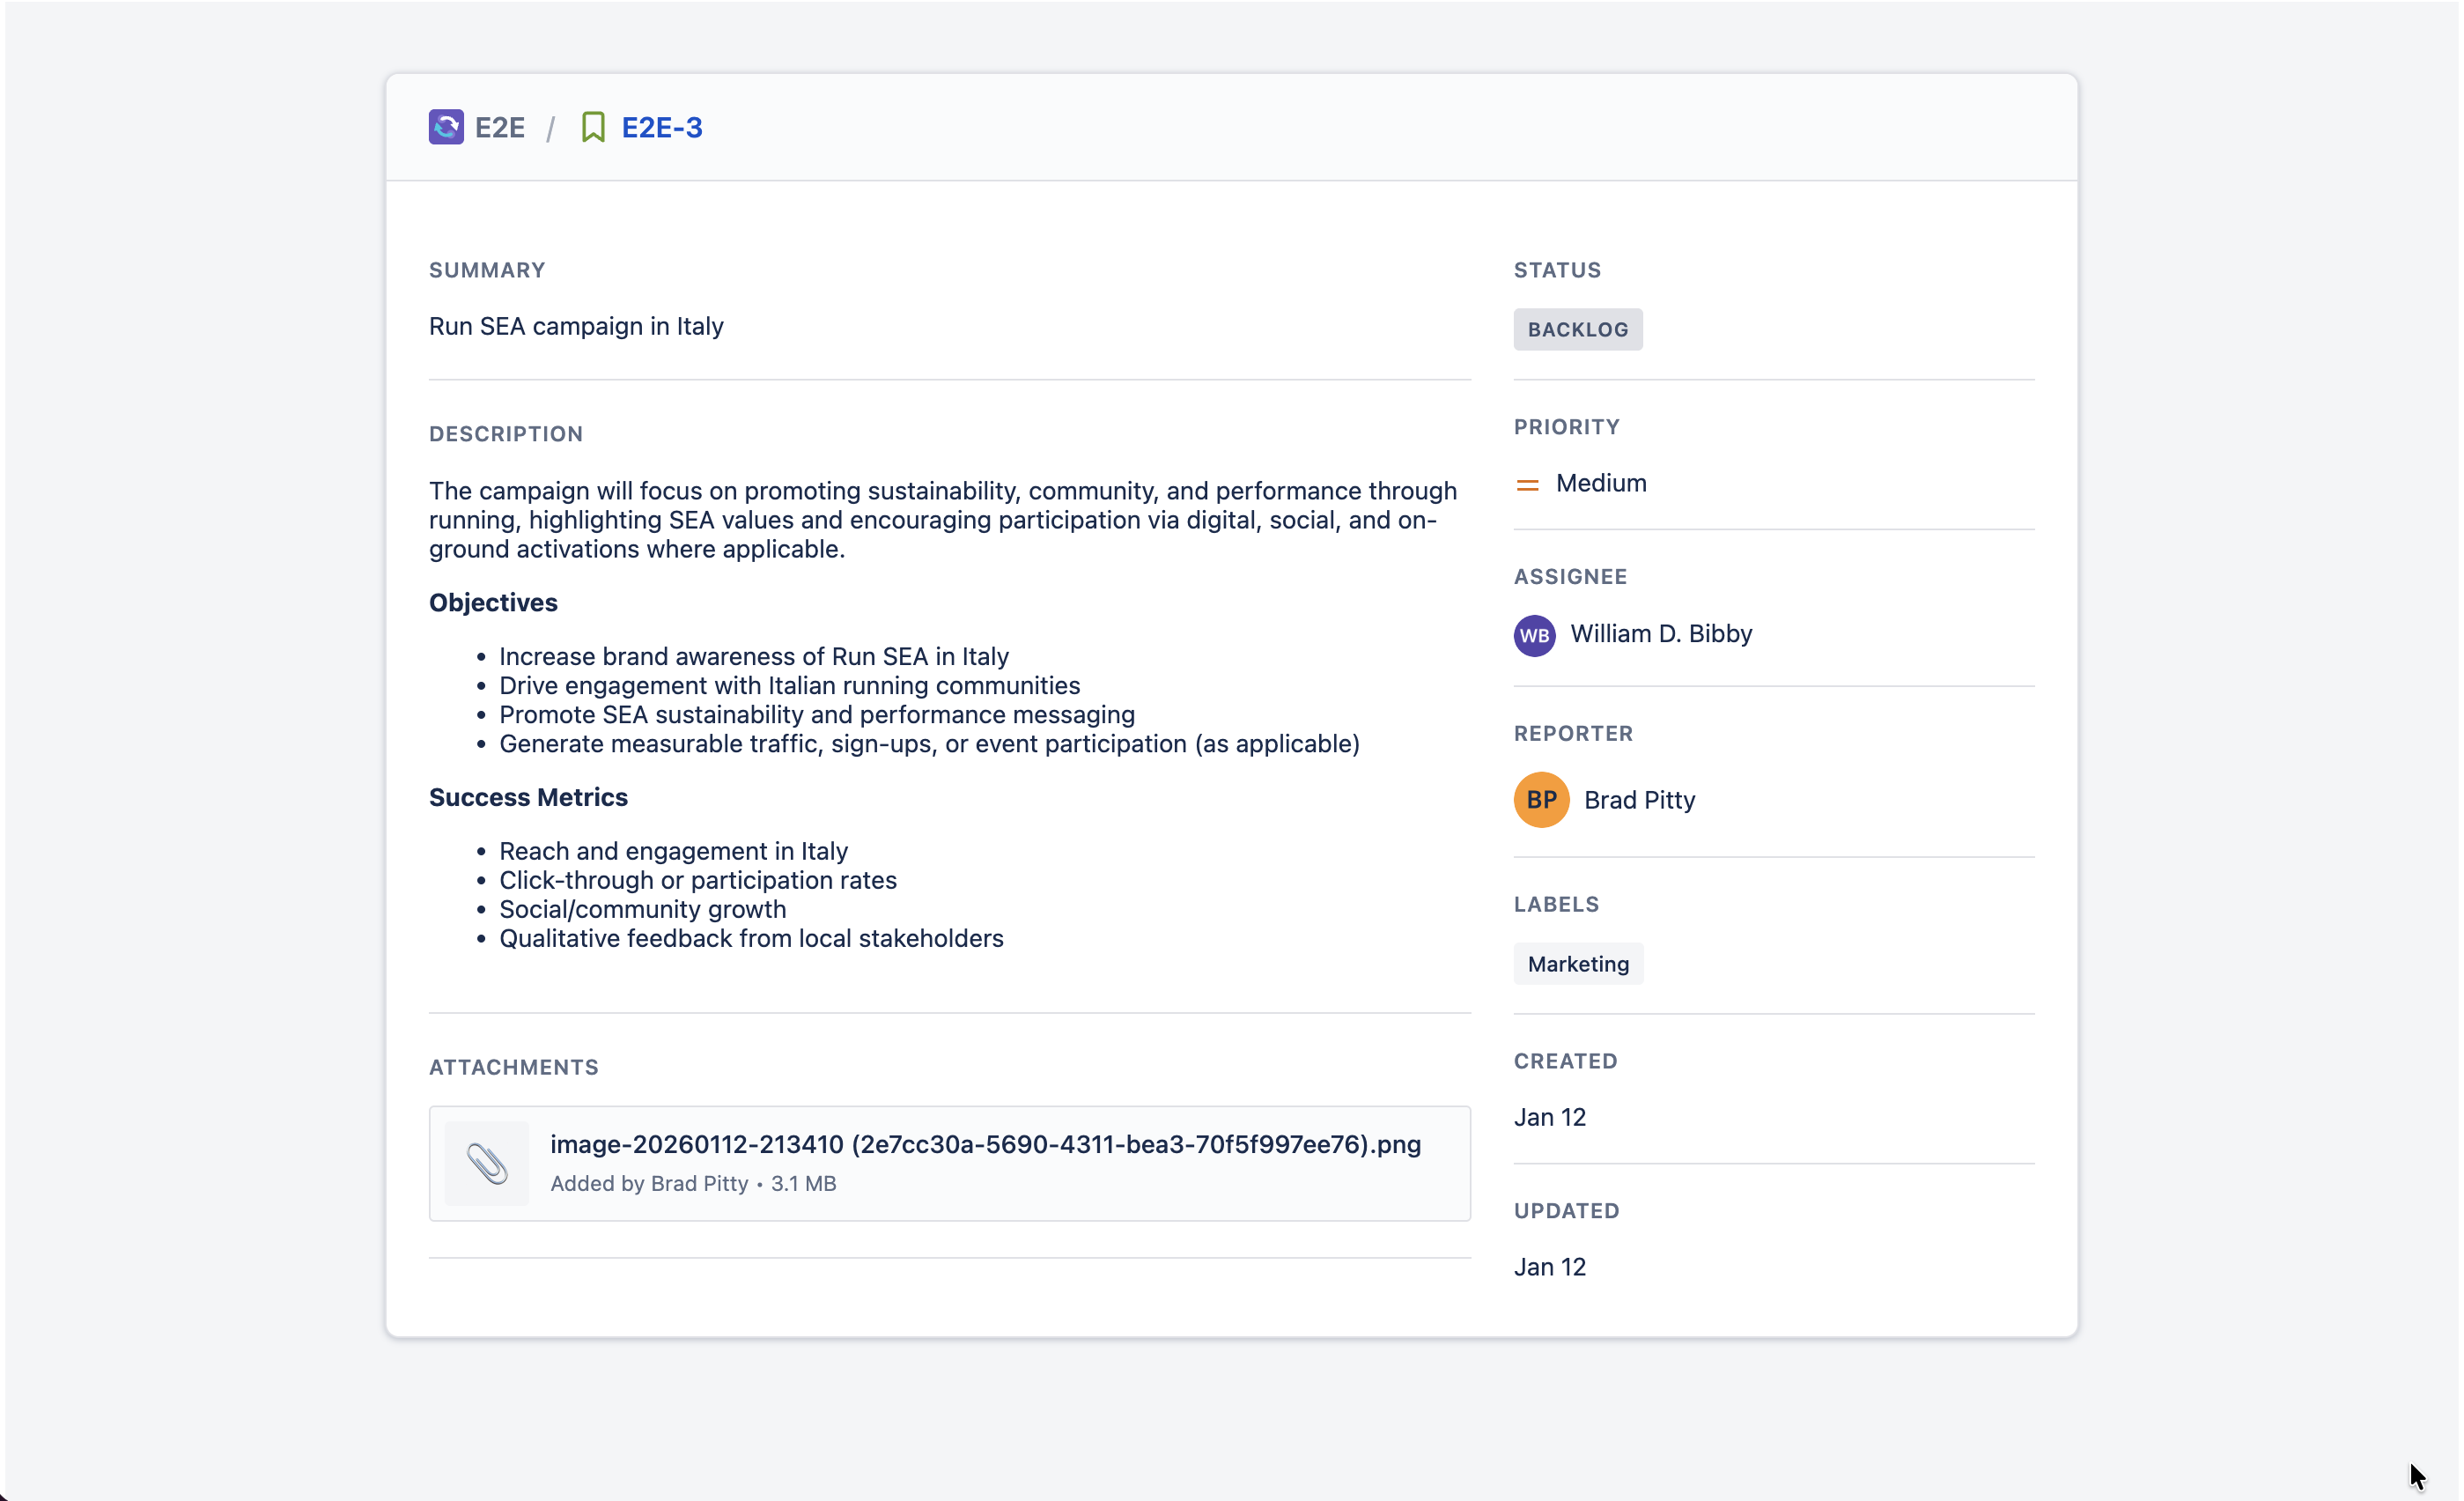 Screenshot: The shared Work Item view showing the selected content sections
Step 5: (Optional) Add Password Protection
For an extra layer of security, you can protect the shared link with a password:
- Click "Set password" in the sharing modal.
- Enter a password of your choice.
- Save and copy the link.
The recipient will be prompted to enter the password before the Work Item is displayed. Share the password with the recipient through a separate, secure channel (e.g., a different messaging app than where you sent the link).
 Screenshot: The sharing modal showing content toggles and the password protection option
FAQ
Why can't I see the "Share Public Link" option?
The option is disabled by your Jira administrator in the app configuration. Contact your admin and ask them to grant your account or group the sharing permission. Admins can manage this under Jira Settings → Marketplace Apps → Share Public Link → Permissions.
How do I generate a new link if the old one was compromised?
Open the Work Item, go to the three-dot menu, and select "Share Public Link". Disable the current sharing, then enable it again. Each time sharing is enabled, a brand-new unique link is generated and the old link stops working immediately. This is the recommended way to revoke access for a specific recipient.
Can I use a link that was shared by a colleague?
Yes. A Work Item can only have one active shared link at a time — shared by whoever first enabled sharing for it. Any Jira user with access to the Work Item can open the sharing modal, copy the same active link, and forward it to external collaborators. There is no need to generate a separate link per person.